|
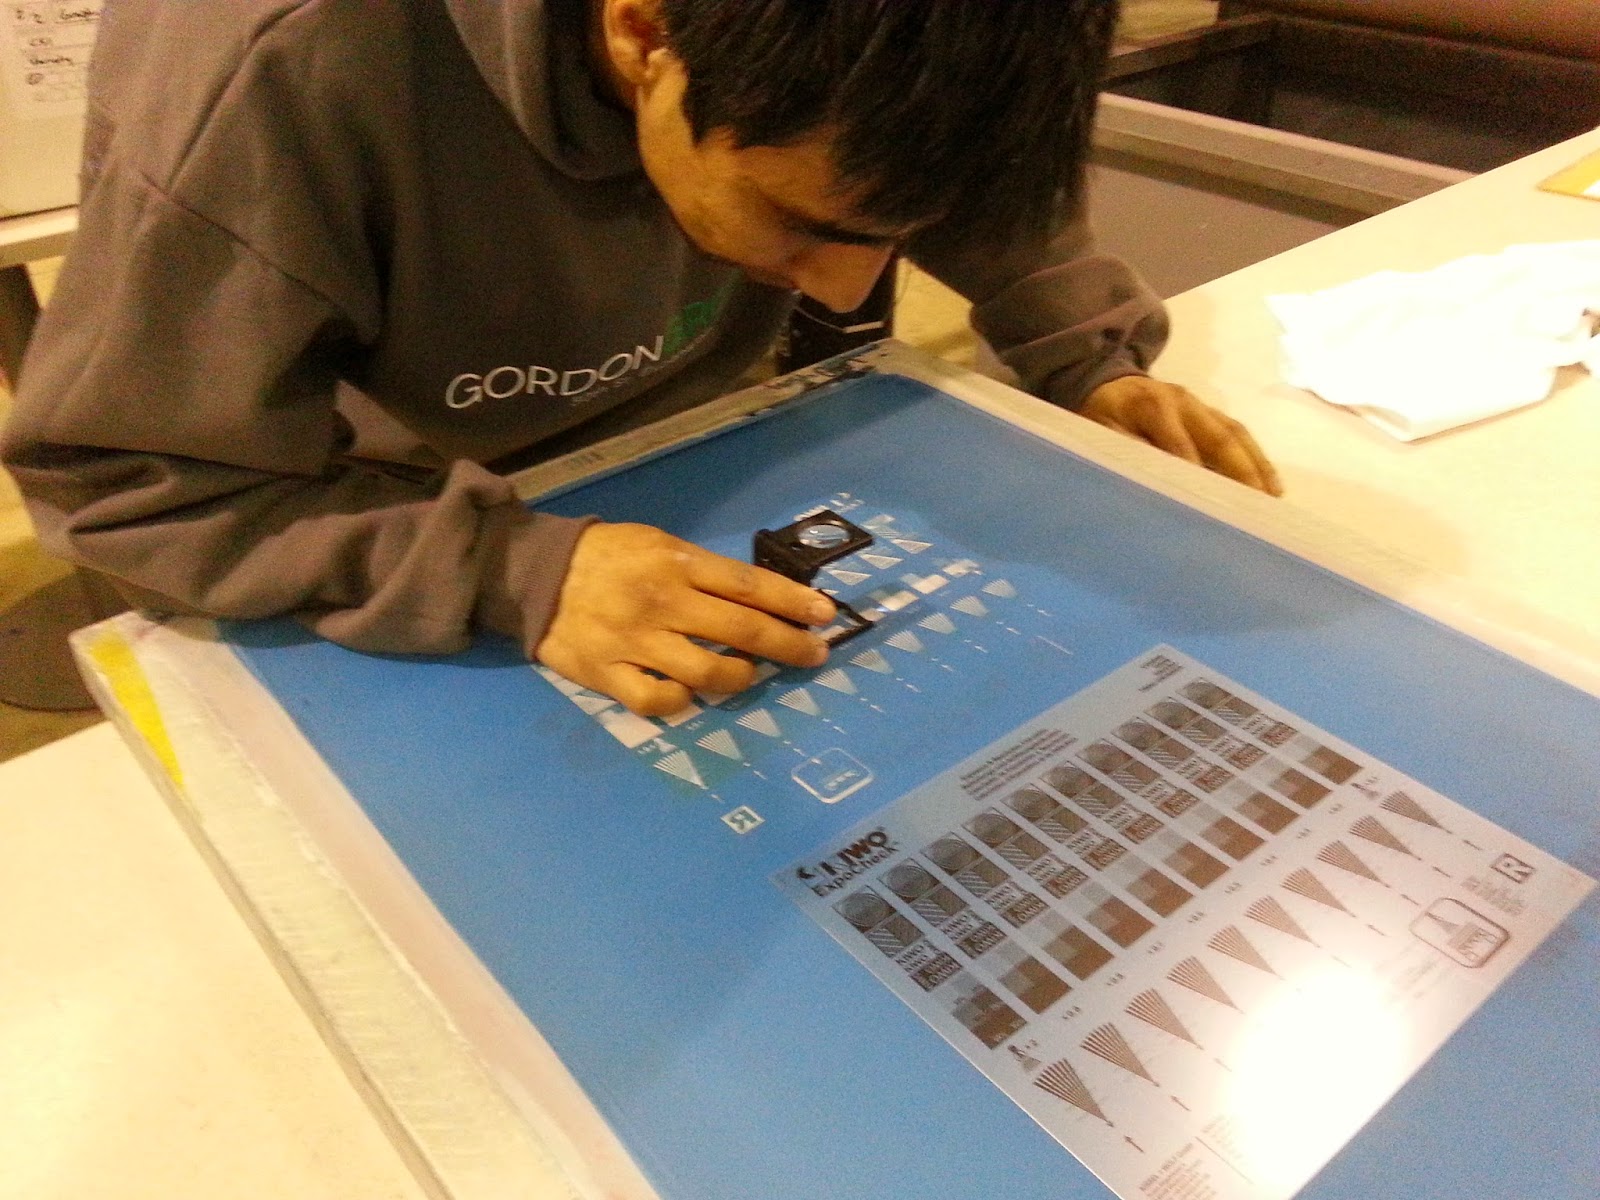
Evaluating Completed Screen Exposure Test |
Say, what's this guy doing you might ask?
We'll, that guy is Felipe and he is one of
TerrificT's resident screen-print guru's.
What Felipe is doing is reviewing a Screen Exposure Test with what we printers call a 'Loop', which magnifies small details such as halftone dots.
You see, being at the top of your game as a
Custom T-shirt & Apparel Screen-Printer is not a matter of just slapping ink on a shirt.
To be the best, you MUST constantly set time aside for research and development, as well as, monitoring your screen and print standards to ensure you are within your acceptable production tolerances. I don't know what it is about screen printers in general, but dang I wish more took quality seriously. Unfortunately, the unwary t-shirt buyer only sees price much of the time until it is too late.
Why Your Screen Printer Should Use A Screen Exposure Calculator
Screen exposure tests matter, yet many screen printers don't bother to do them. An exposure test is done to determine the proper amount of exposure time for making screens. A test film positive, aka exposure calculator, is used to create a multiple step exposure of a detailed test image (basically a step-wedge test). For example, a test pattern of varying line weights and halftone dots will be repeated 10 times on one piece of artwork. A tinted filter is placed over this test image with an increasingly darker tint on each repeated test image. After making one screen with the test image, you effectively have the same image repeated 10 times, but each exposed with a different amount of light . Each exposure step represents a factor of the test exposure time. The results are analyzed for edge definition, detail and complete exposure. The best result determines the optimum exposure time.
|
Illustration: 10 Step Exposure Test Image |
An exposure test is needed to ensure that a screen will print the best detail possible. If a screen is underexposed, detail will be blown out, often seen as blurry edges or white underbases 'creeping' because they are not fully trapped by overprinting ink colors - underexposed screens allow too much ink. Underexposure will also cause screens to breakdown in production, producing unwanted dots in the imprint area (pinholes) and likely ruining screens in successive print jobs because ink will physically bond with the screen mesh and ,unbeknownst to less experienced printers, block detail when the screens are used again on future print jobs.
If a screen is overexposed, there will be a loss of detail, especially noticeable with fine lines, small fonts, and halftones. For toned or 4-color process images, this dot loss will make images look washed out and often create unwanted moire patterns.
A screen-printer must perform exposure tests for all the different screen types they use. For instance, depending upon the print shop, several different mesh counts are used. In layman's terms, mesh count refers to how large the openings are of the screen mesh. Printers use larger openings to print more ink and finer meshes to print detail.
Exposure tests are not a one-time event. Being a great screen printer is hard work. Several variables, such as, humidity, art quality (film density or dmax), exposure light degeneration and others, merit frequent tests. I recommend weekly tests, incorporated into the workflow, but monthly tests will suffice.
Bottom line: A screen printer cannot guess proper screen exposure times - exposure tests must be performed. Precisely exposed screens will always produce sharper, detailed images. Sure, you can produce bad prints with good screens if you don't know what you are doing, but that's putting the 'cart before the horse' - first you must start with excellent screens, then worry about good printing habits.
Super Screens Make Super Prints On T-shirts.
See more examples of
great t-shirt screen printing
Read More